Showing posts with label Sarah. Show all posts

Thursday, June 16, 2011

Friday Eye Candy {12- New Blog New Business!}

Hey y'all!
Remember my lovely aunt who did a couple of guest projects on ze 'ol blog-a-roo?


Well guess what?!?!?! She now has her own blog!


And she opened a new shop! She does glass etching and it's pretty amazing!

Go stop by her blog and shop! I know she would love to have you!


I'm off the spend a weekend in The BIG Easy with my old man! See y'all when I get back!

Wednesday, April 13, 2011

Sarah K's First of the Month Project!


Like the new logo?!?! Ehh?!?! Haha Okay I though it was funny... Alright Sarah take it away!

So this month's project is a bit quick and easy.
As I was cruising my local craft store I saw this package of over-sized journal spots by October Afternoon.
Since all the papers are about the same size, I thought they would make a great mini album. I quickly grabbed a package, a white hinged keyring, and coordinating accent pack. All set!

{They pics are horizontal on my computer can't get them to flip in blogger... just turn your head}


I rummaged through my pictures and found a few of Cason that never made it into an album. I trimmed them down and settled on an order and accent placement.

{Once again... just turn your head}
I committed to what I had the first go-round so I stuck everything down.


Lastly, I worked on the cover/title page. I love the feathers that came in the coordinating accents and knew the front page was the perfect place for them! Once I was happy with their placement I hot glued them down. Stickered on my title and Voila! Super quick and easy!

Hey, when you are chasing around a 3 year old and a 1 year old quick and easy are right up my alley!

Hope you enjoy!
Sarah K


Thanks for sharing Sarah! I love the pic of Cason's tush on the scale! Too cute!


On another note... Have you seen the review that Pink Lemonade did for Sign Me Up?! If not run over and check it out! You can even enter for a chance to win one of my Little Lovely Signs! Go see Miss Paige right now!

Wednesday, February 2, 2011

Sarah's first of the month project!

{A day late... but about 79 dollars short saved}

So, since Brooke is on a knock-off kick I figure I'd join in on the fun!
I got the idea from these Land of Nod posters {found here}

{Sorry for the bad pic- via Crackberry Blackberry}

$89 each!!! Yeah right! Here's what I came up with. And, since I LOVE-LOVE paint this project will come as no surprise. :-)


This is the curtain in our boys/guest bathroom.


I gathered my supplies accordingly {since my project will be hanging in this bathroom.}

I painted the canvas with my base colors- this will eventually be the color of my letters. {Trust me, you'll see!}


Since watching paint dry is SO much fun, I decided to go ahead and cut out my letters with my Slice machine. I used Vintage Findings cartridge. A bit time consuming but worth it to me for this project. A bit time consuming but worth it to me for this project. And I had plenty of time   ;-)
{Side note from Brooke- What mother of 2 small boys doesn't have plenty of time?! Haha}

Once cut, I laid them out on the canvas when the spacing was what I wanted, I used a temporary adhesive to hold the letters and shapes down.


Here it comes!! My favorite part- playing in paint! Don't use a whole, whole bunch of top coat paint. It will bleed under your letters. It's a lot easier to add than take away. Dabbing seemed to work best over the letters.


The top coat is done so off come the letters and shapes. To do this I used a straight pin to help lift up the card stock. Be careful not to poke through your canvas.

Since this is going in the bathroom I decided to seal the canvas. I have two boys. Do you REALLY need to ask why??


Ta-Da! The finished product!

Cost breakdown:
This is easy- I only bought the canvas $6.99 and 3 small paints for $.99 each.

{Come on Sarah K I give it two thumbs up!!}

I hope you enjoy this project and get your creative juices flowing! Post your link in the comments of your versions. I would love to see what you come up with!
-Sarah K

Linking up this project to the February DIY Club! Link up HERE!


DIY Club


Monday, January 3, 2011

Word of the year


I got this idea from Ali Edwards! Here is her description of one little word...
"A single word can be a powerful thing. It can be the ripple in the pond that changes everything. It can be sharp and biting or rich and soft and slow...I began a tradition of choosing one word for myself each January – a word that I can focus on, mediate on, and reflect upon as I go about my daily life...One little word can have big meaning in your life if you allow yourself to be open to the possibilities..."
{Excerpt taken from Ali Edwards 2007}

This year the word 'commit' sort of chose me. As I began thinking about my word, commit kept reappearing. So, I decided to stick with it since I couldn't seem to shake it! I have done this project for the past 3 years and have LOVED it. Previously, I chose the words enrich and nest. Both of which I am still working at. :-)
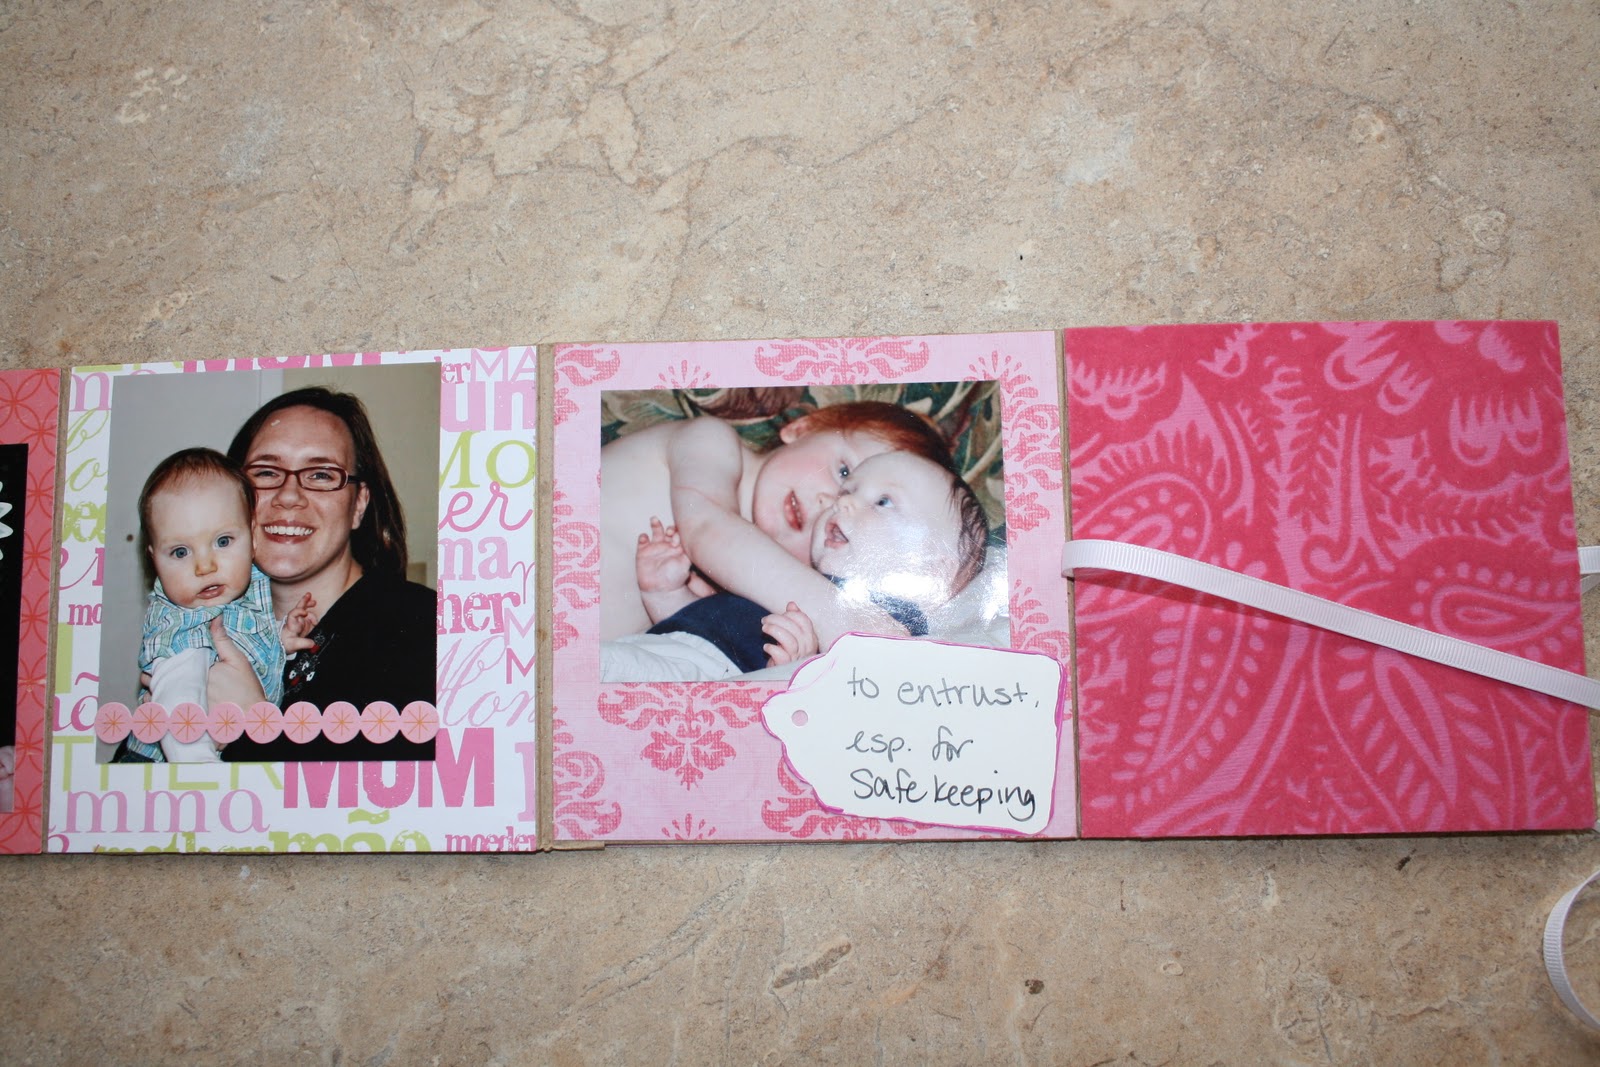
Here is the accordion album I decided to create to help me stay focused on my OLW. I hope you enjoy!
Gather supplies:
Chipboard Book
Coordinating Paper
Stickers
Ruler
Scissors (or paper cutter)
Ribbon
Paint
Pictures
Dictionary


{ Sorry for the sideways pic... Just turn your head :-) }

I have had this album in my stash for YEARS just waiting on the right project. (I have a lot of stuff waiting on the "right" project! Lol)
So, as I dug it out, I decided that since this album is for me and not any of the males in my house, I decided pink was the perfect color. I don't get much of it in my life so I have to fit it in wherever I can! I chose papers and embellishments that were pink, pink and more pink... Or should I say Blush and Bashful?? 
As I got started, I decided to 'commit' to only use the products I pulled already. I did not want to keep going back to my stash. 


 I decided on the papers that I wanted to use, cut them to size,  and placed them where I thought they should be.


Before full sticking down all of your pages, make sure you have a way to close up your album, if it is accordion-style.

I dug through my mounds of pictures and settled on the ones I felt worked. Laid them out then cut them down to size.


I decided to add tags through my album with the definitions of 'commit'. After I got everything written down the tags were too boring! So, out comes the paint! I find it VERY hard to do a project without paint :)  I just used my finger, dipped in paint, and spread some pink- I mean bashful- along the edges. AH! Much better!
While they were drying, I wrote down beside the tags where I wanted them to go... I still have baby-brain a year later- I can't remember squat!


After sticking my photos down I decided to add a few embellishments. Nothing fancy, just a bit to spruce things up. Then I added my tags.


Before I put the paper down for the back of my book I put down a piece of ribbon so that I can fold up the book and tie it closed.


Like this!


Embellish the front (and back if you want). Then stand back and admire your work!!
Throughout the year, I might pop in with some other projects that I have done to help me keep my word alive!
Hope you will find the OLW that fits you at this moment and run with it! Just put down the scissors first! lol
-SK

Thank you Sarah K! I love the idea of letting one little word carry you thorough the year! So this year I'm following suit and my word is beginning. I really think that will be a good word for me this year! I can't wait to see what new beginnings come up through 2011!


Wednesday, December 1, 2010

First of the Month Feature!!!

Today is the first of the month! On the first of the month my lovely aunt is going to do a feature! Here is a little bio on her!

"HI! I am Brooke's Aunt Sarah. I am a working mom with two handsome blue-eyed boys. When I am not running around behind the kiddos, or the hubs, I can usually be found at my crafting table.  Brooke has so kindly asked me to do a feature on the first of each the month. I hope you enjoy this months project!"


(Sarah and C!)


This month's Project is a homemade To-Do List!

gather supplies:
glue stick
ruler
self-healing mat
perforator(Stampin' Up!)
printed packing tape (Michael's)
rub-on alphabet (Hit N Miss-Little Black Dress)
paper (Vintage Graph- The Paper Studio)


 Trim paper to desired size- mine is 4 by 6


Measure about 3/4 inch down from top and make a perforated line. This will allow your pages to tear off once your list has been completed.


Glue front of each page up to the perforated line. Leave a little breathing room so your pages will tear off easily (or you can't make a straight line like me :) )
Layer pages as you go.


Adhere tape to top of the stack of papers. Be sure not to cover your perforation! Not only will this help keep you pages together, it looks cute too! Fold tape over the back and trim the sides. 


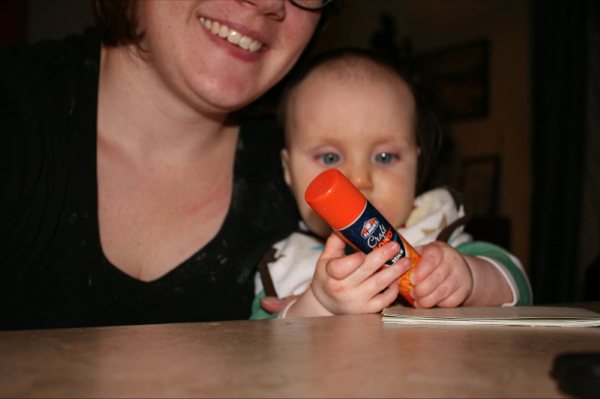
Insert teething 10month old (hence all the cookie funk he left on my shirt!)
Rub on "To Do" at the top.


Voila! Your tablet is complete!!


Thank you Sarah! I can't wait to see what other sweet surprises you bring us!!! Tomorrow I'll show you my PB knock off!
Related Posts Plugin for WordPress, Blogger...